
Tree Planting Guide
Before You Get Started
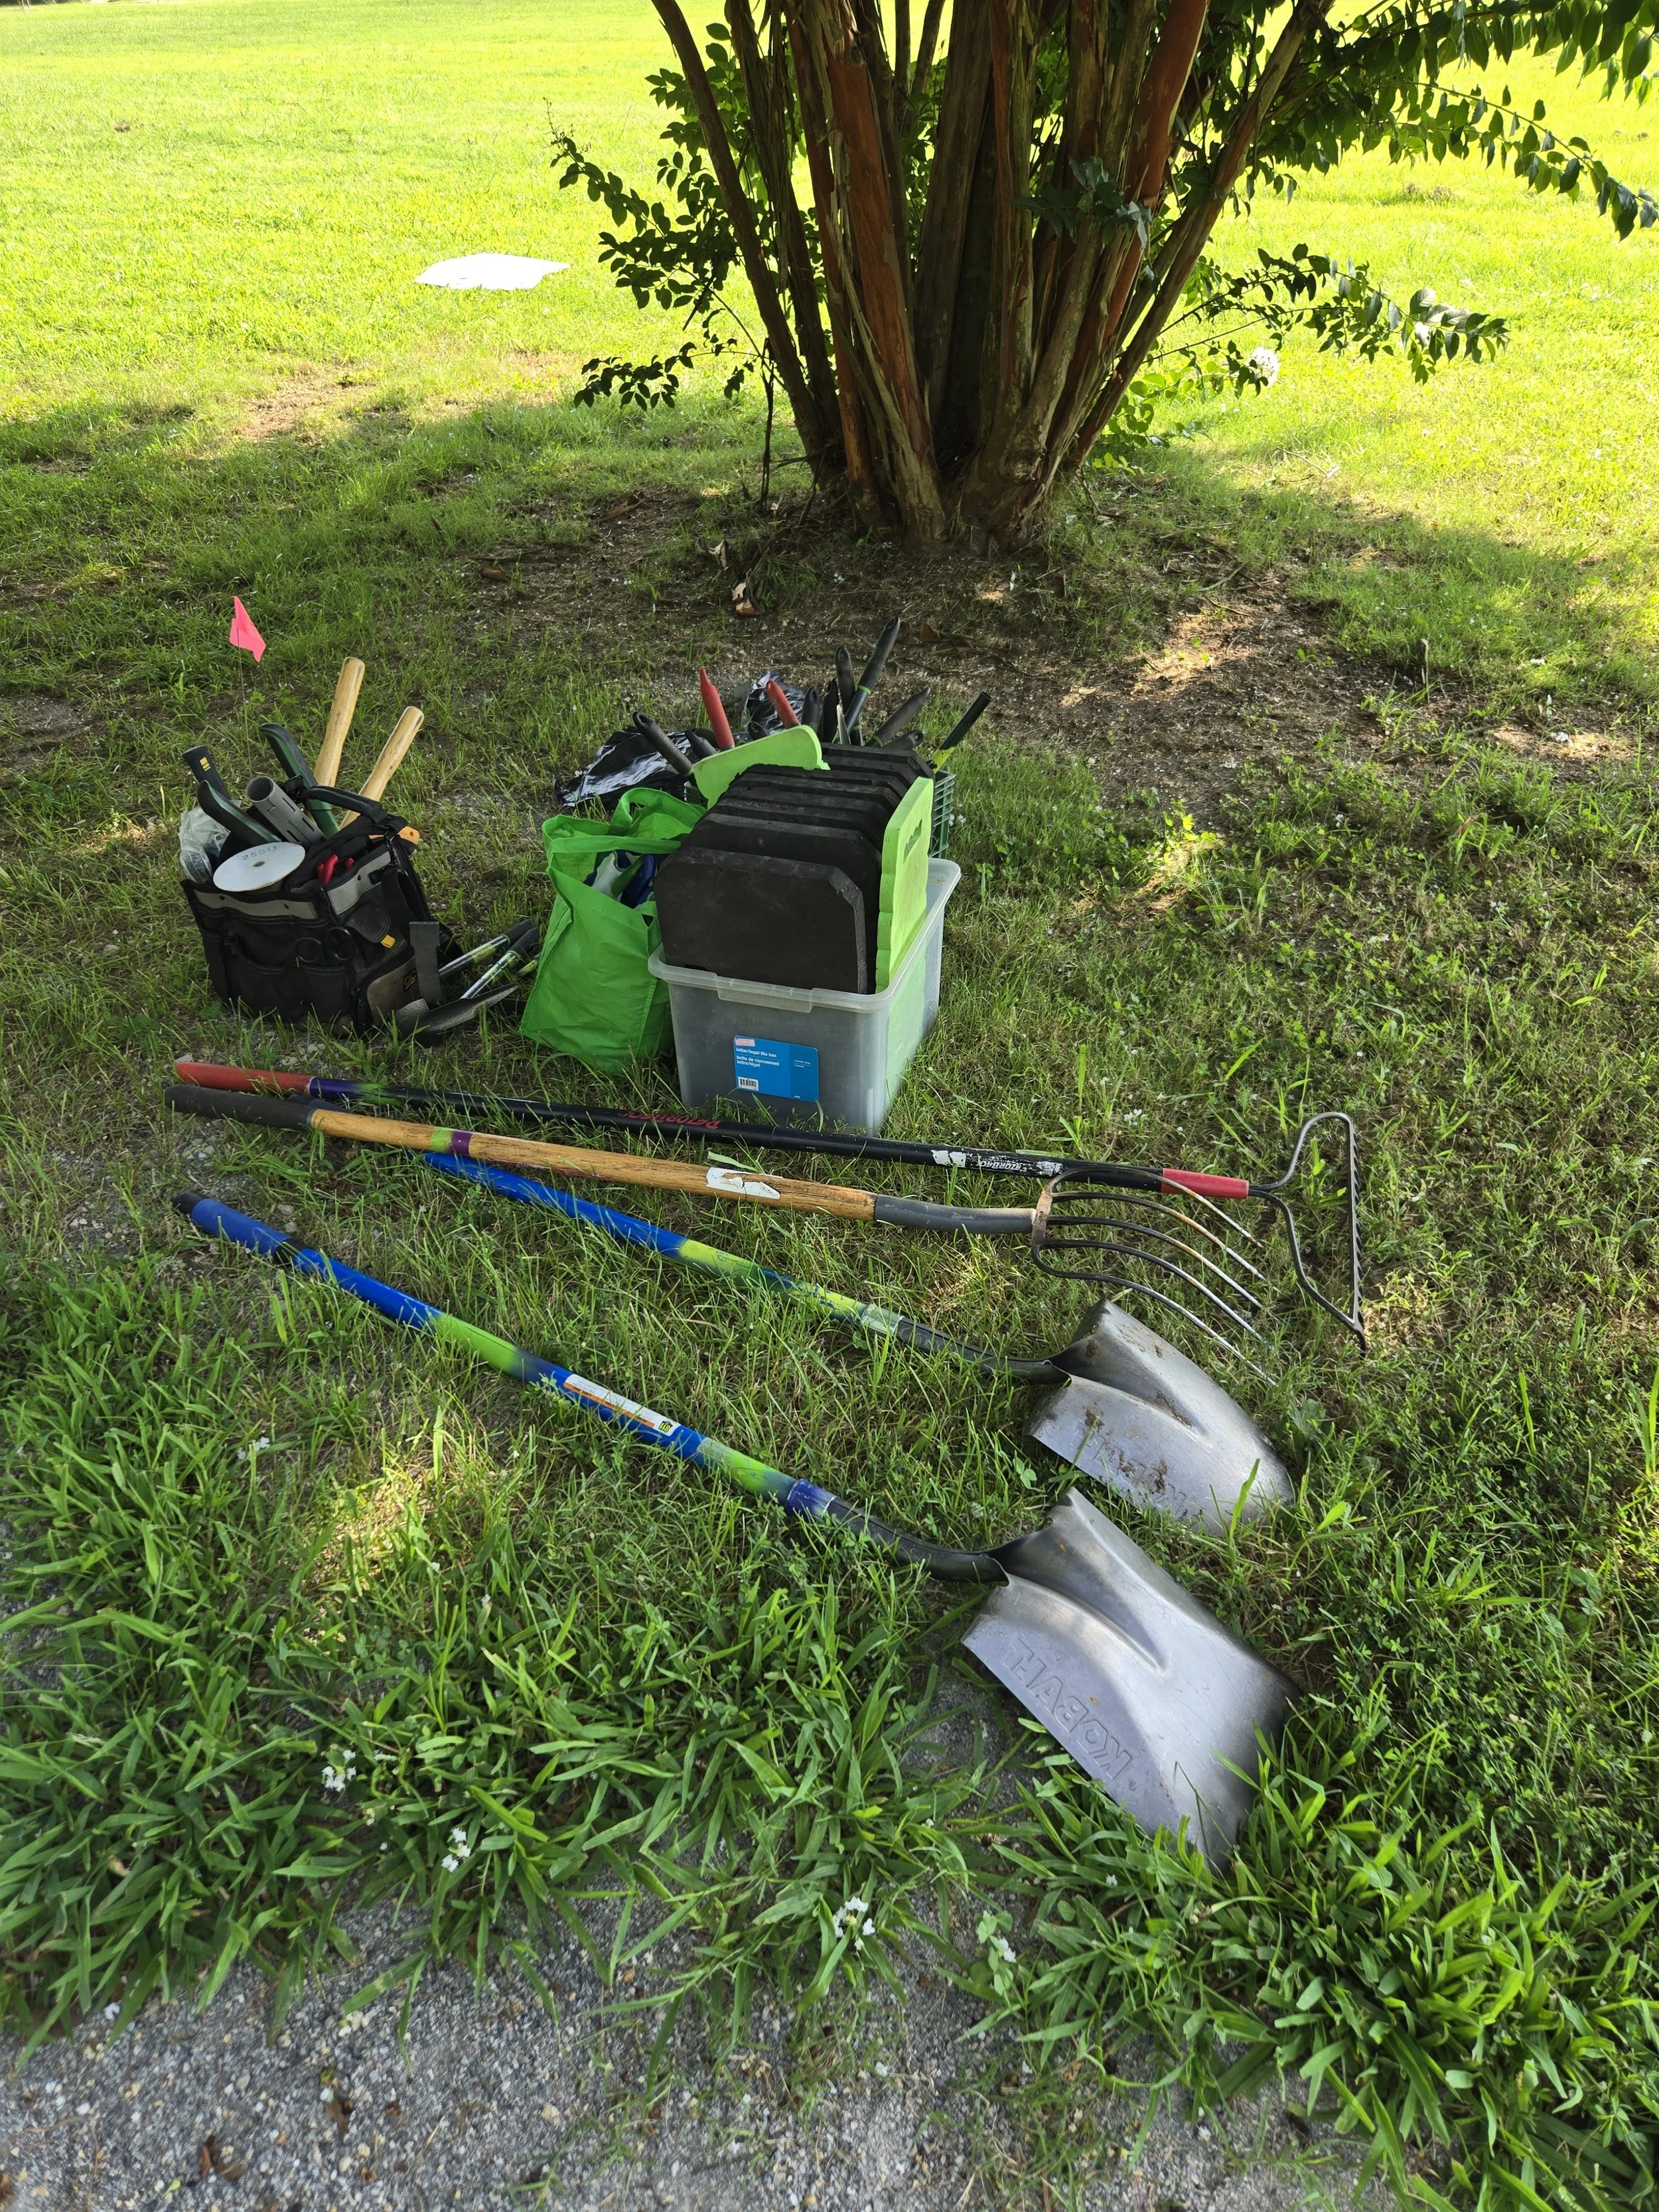
Gather your tools before you begin. You’ll need a shovel, mulch, and water (along with the tree you want to plant!). You may also want a pair of hand pruners to help you prepare the root ball.
Review guidance on “right tree, right place” to ensure you have the right tree for the space you want to plant.
Before you dig a hole on your property, call 811. Never dig before calling 811 to prevent dangerous accidents, service outages, and potential fines caused by buried utility lines.
The following instructions are for planting containerized trees. Follow instructions from the Arbor Day Foundation to plant a bare-root tree or sapling.
Mistake to Avoid: You don’t need to buy expensive tools to plant a tree. If you need to borrow tools, ask a neighbor or contact the Richmond Community ToolBank.
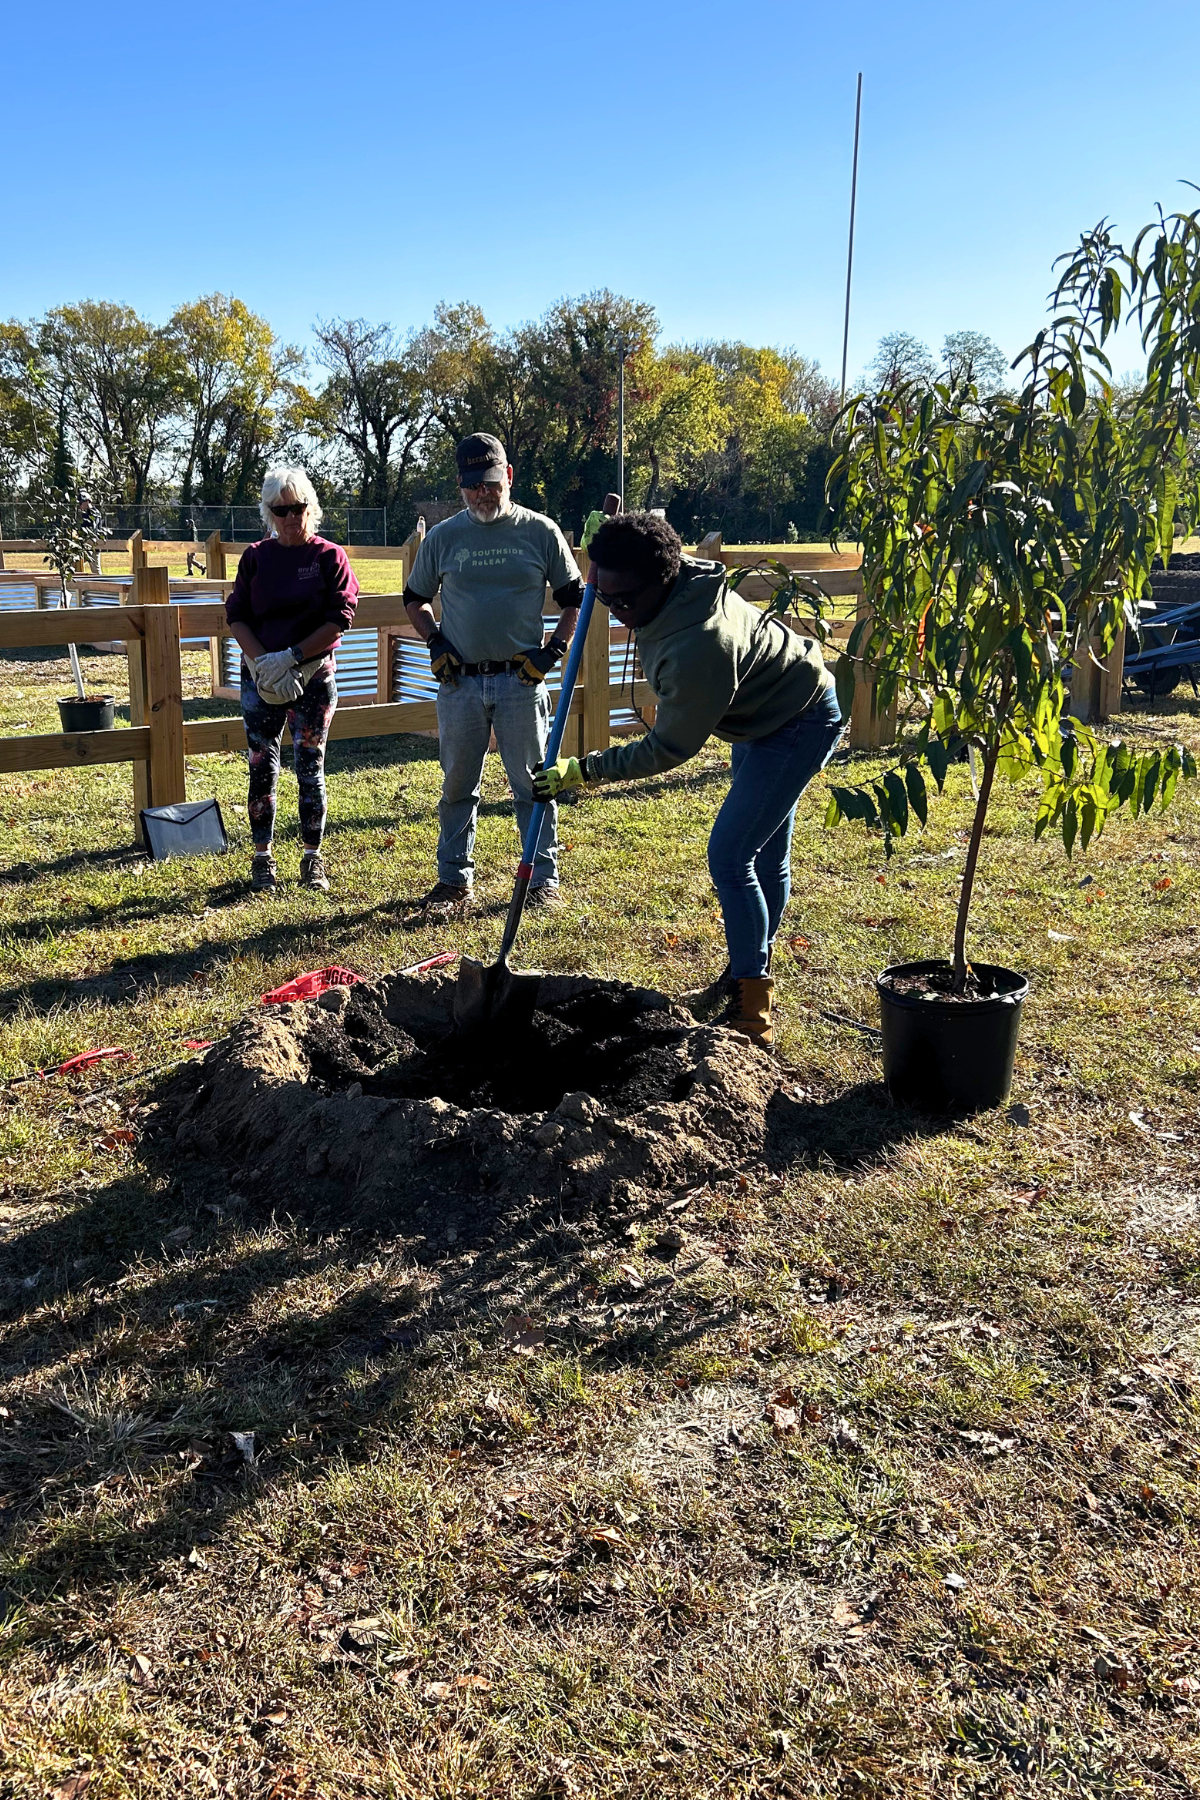
Step One: Dig the Hole
Dig a planting hole that is two to three times wider than the tree’s root ball.
The depth of the hole should be equal to or slightly shallower than the height of the root ball.
Mistake to Avoid: Digging a hole that is too deep can cause the tree to settle too low in the soil.
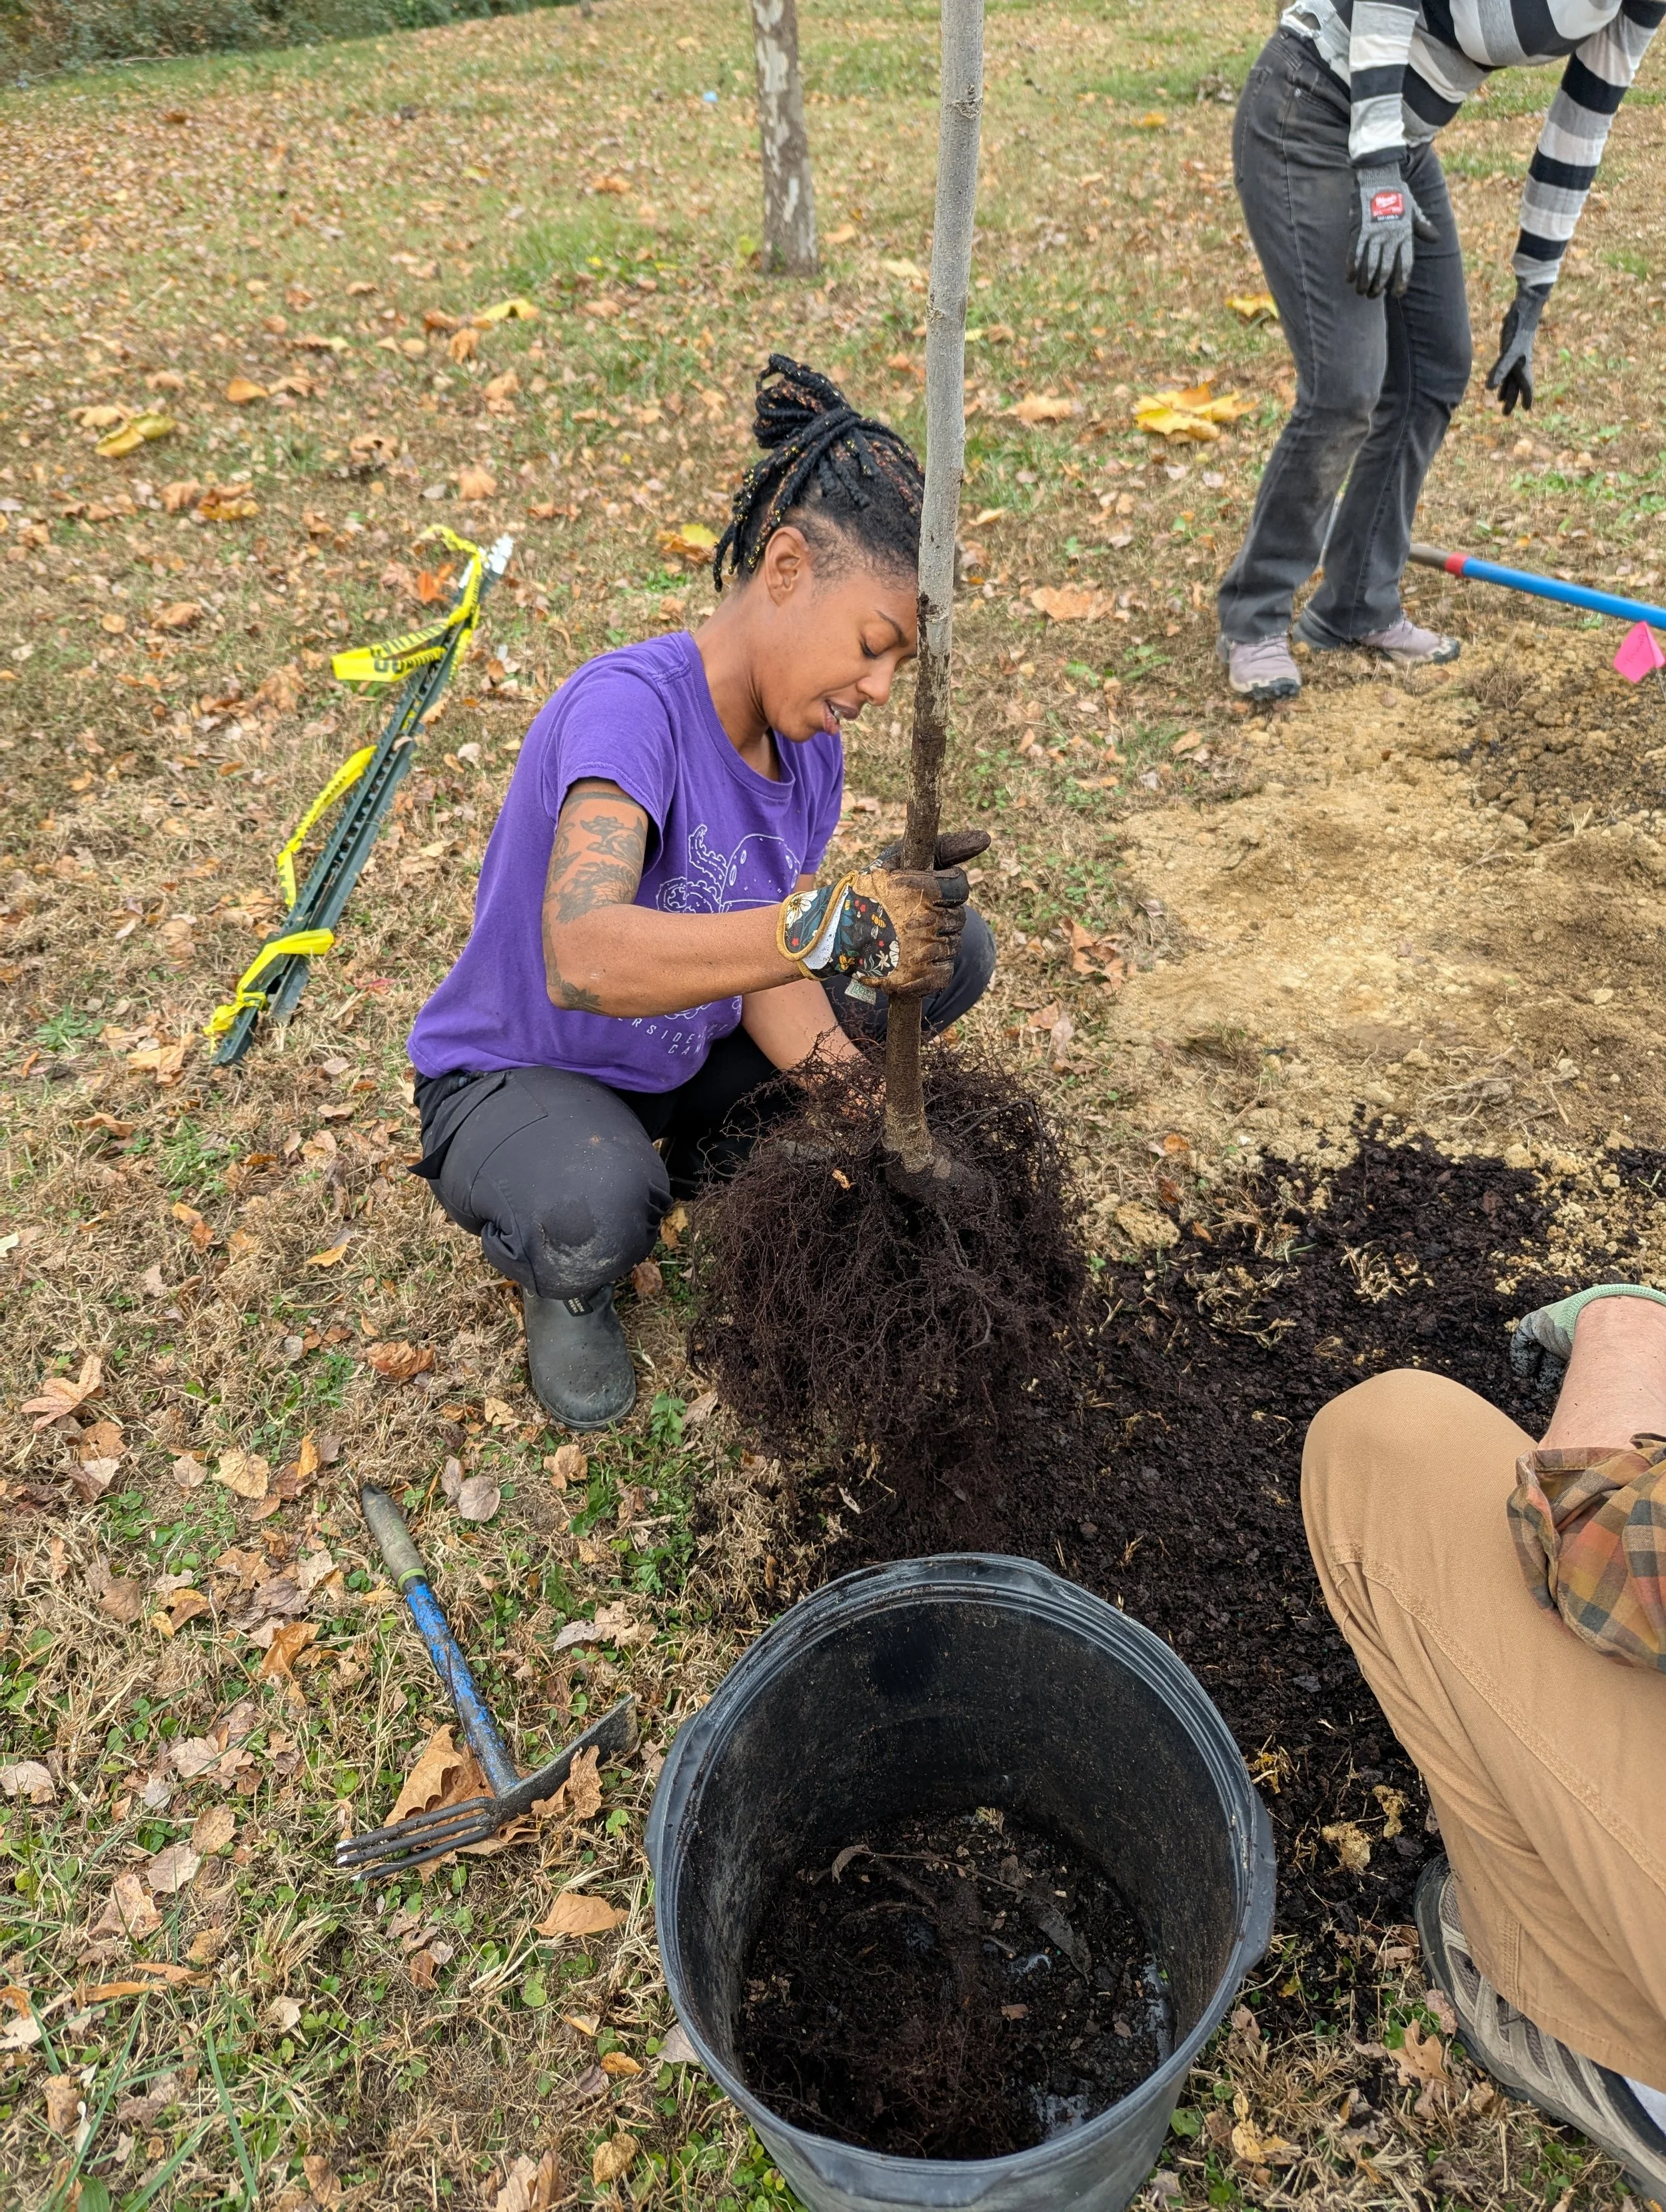
Step Two: Prepare the Root Ball
Inspect the root ball and gently loosen any circling or compacted roots. Snip off roots growing in a circle using a hand pruner. You can also use a pair of sharp, clean garden scissors.
Remove any excess burlap or container materials, ensuring they do not extend above the soil surface. Remove any tags, wires, or ropes attached to the tree limbs and/or trunk.
Mistake to Avoid: Do not leave circling roots; they will never “uncurl” to stretch out and can destabilize the tree as it grows.
Contrary to popular belief, tree roots don’t go very deep, not more than a foot and a half in our area. Trees get their strength from roots that spread widely. The diameter of the roots spread can be 2 – 3 times the diameter of their mature canopy.
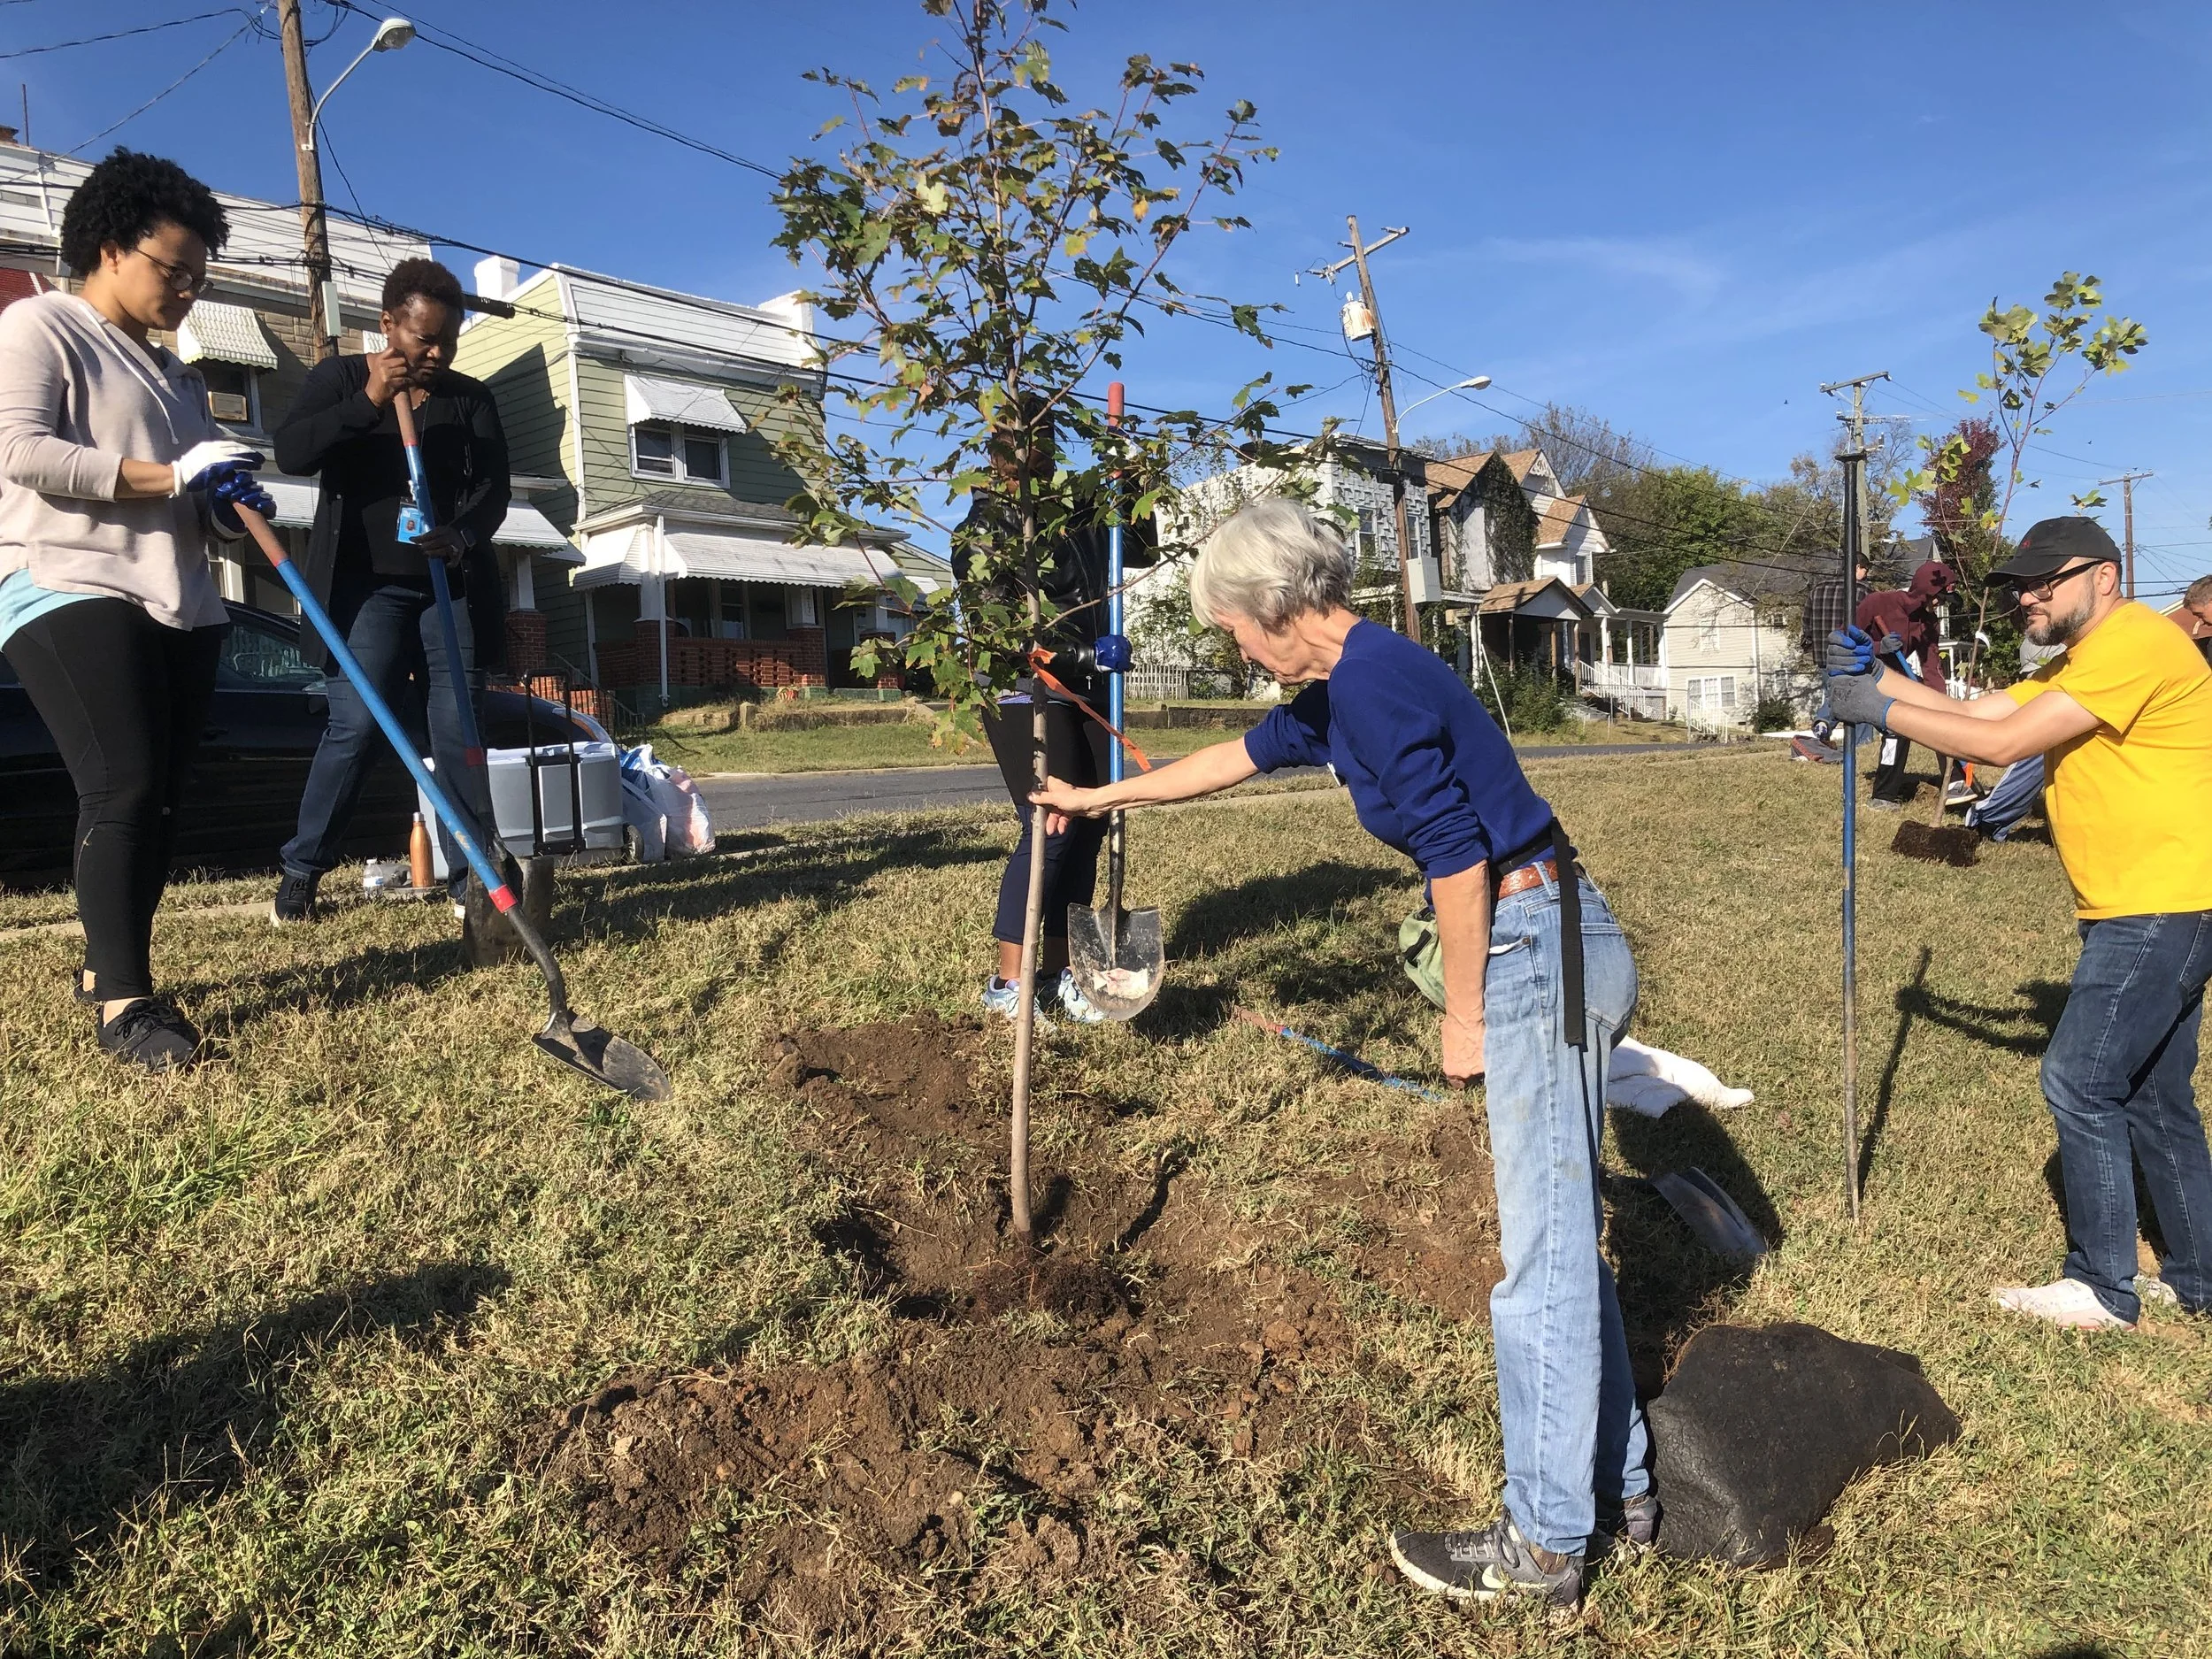
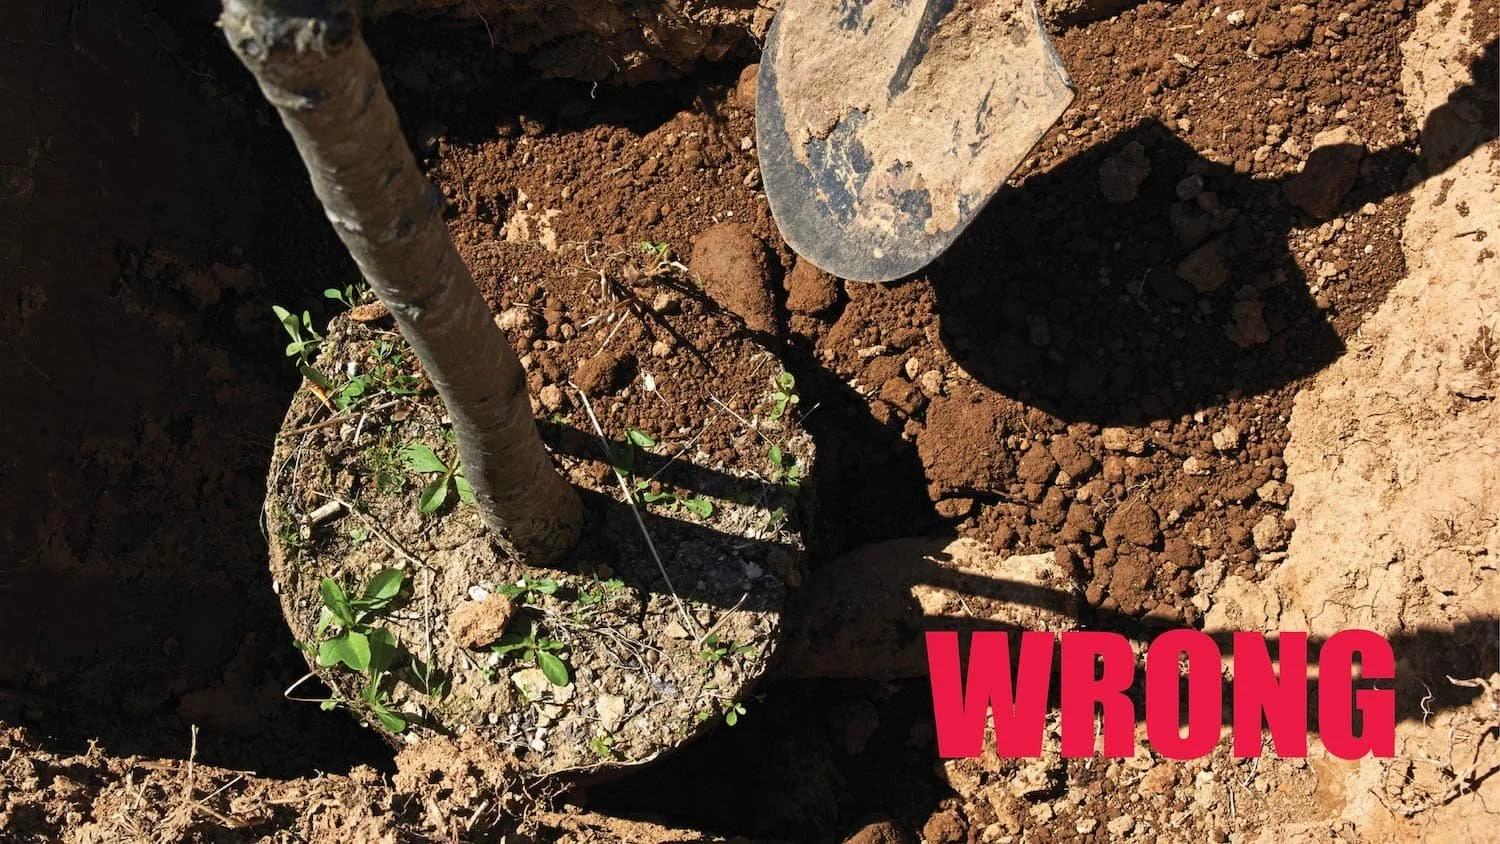
Step Three: Place the Tree
Position the tree in the center of the hole, making sure it sits at the same level as, or slightly above, the surrounding soil.
Check to ensure that the root collar — the place where the first root comes out of the trunk — is visible on the surface. The root collar is also called the flare, as it’s where the trunk widens. You can lay your shovel handle flat across the hole to compare the root collar to the original soil level.
Mistake to Avoid: Don’t plant the tree too deep or too high, as this can negatively affect root development and stability. Pay attention to the root collar.
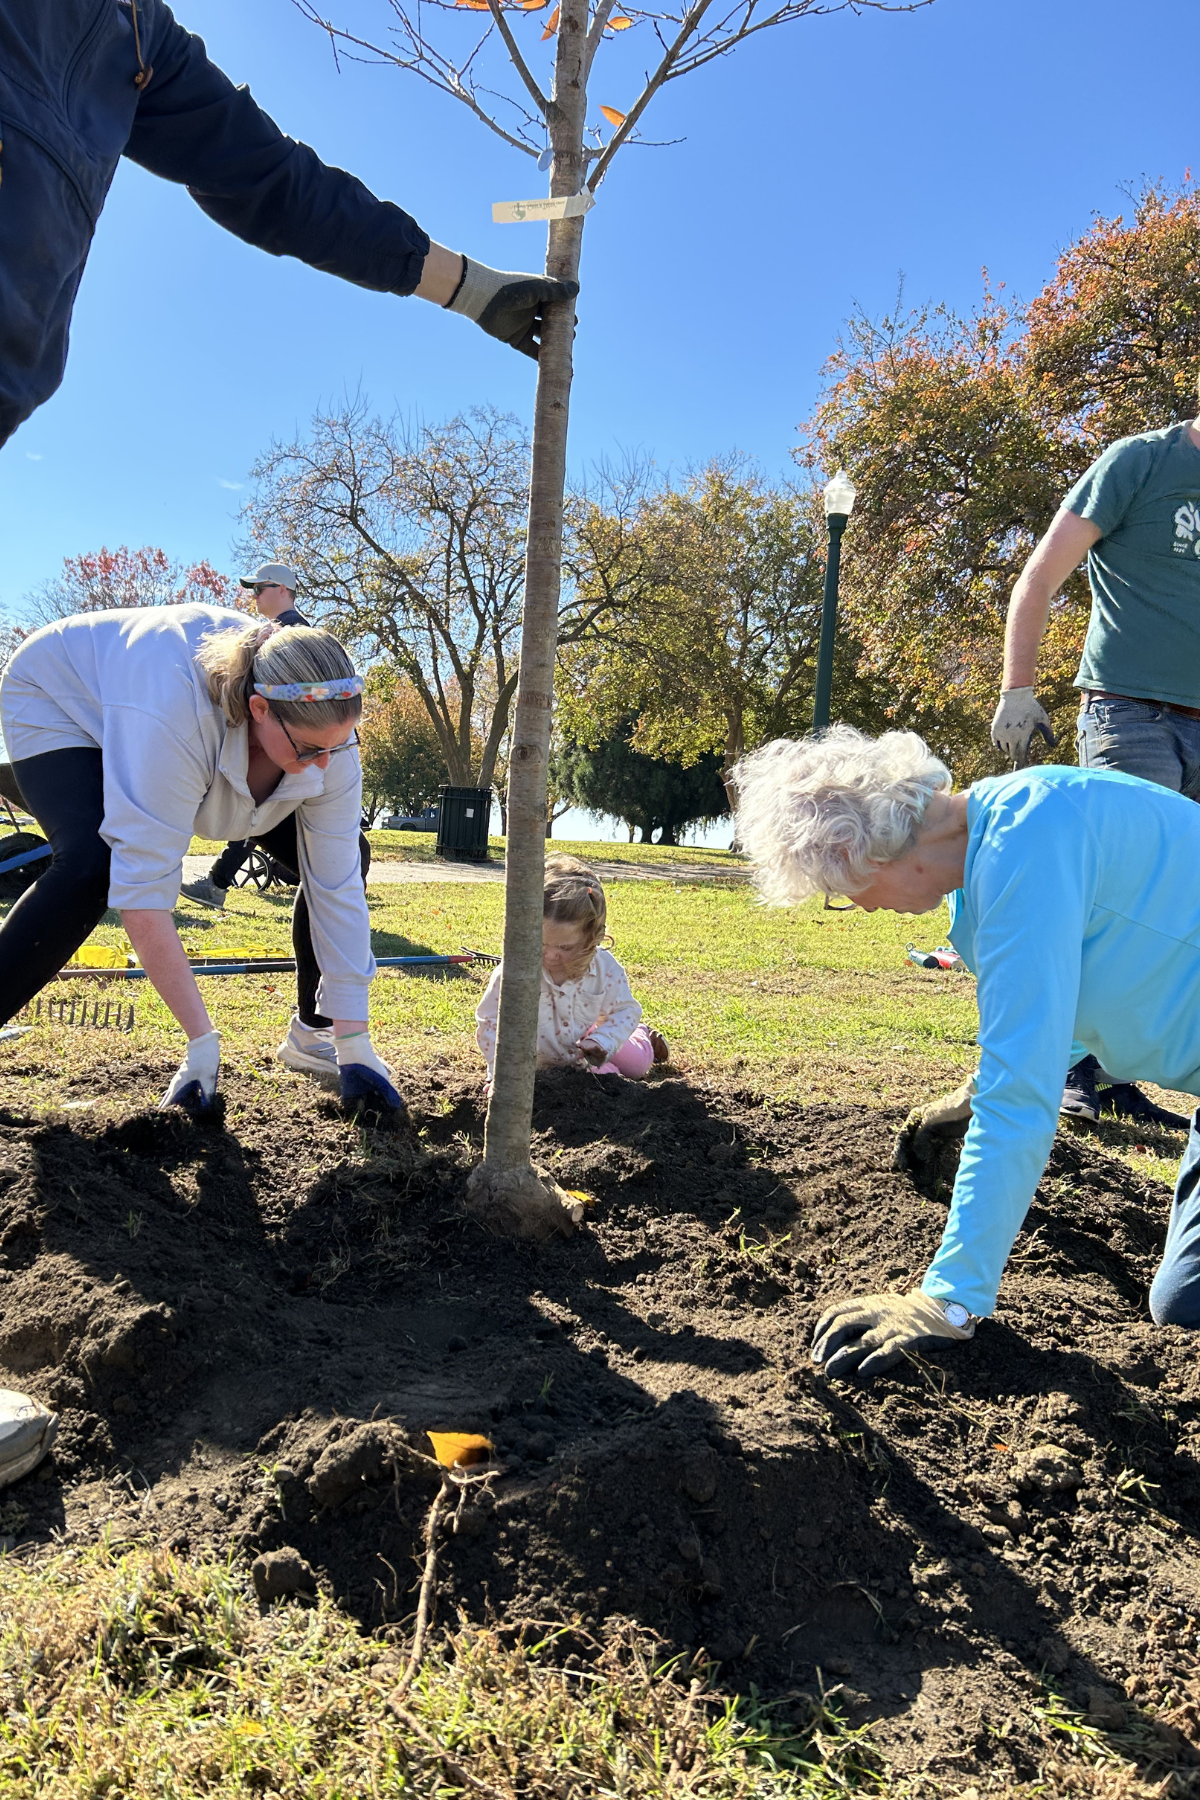
Step Four: Backfill the Hole
Backfill the hole with the original soil, using a mixture of soil and organic matter if necessary.
Gently tamp down the soil to remove air pockets, taking care not to compact it excessively.
Mistake to Avoid: Do not use only organic matter for backfilling, as it can create a “bathtub effect” and retain excessive moisture.
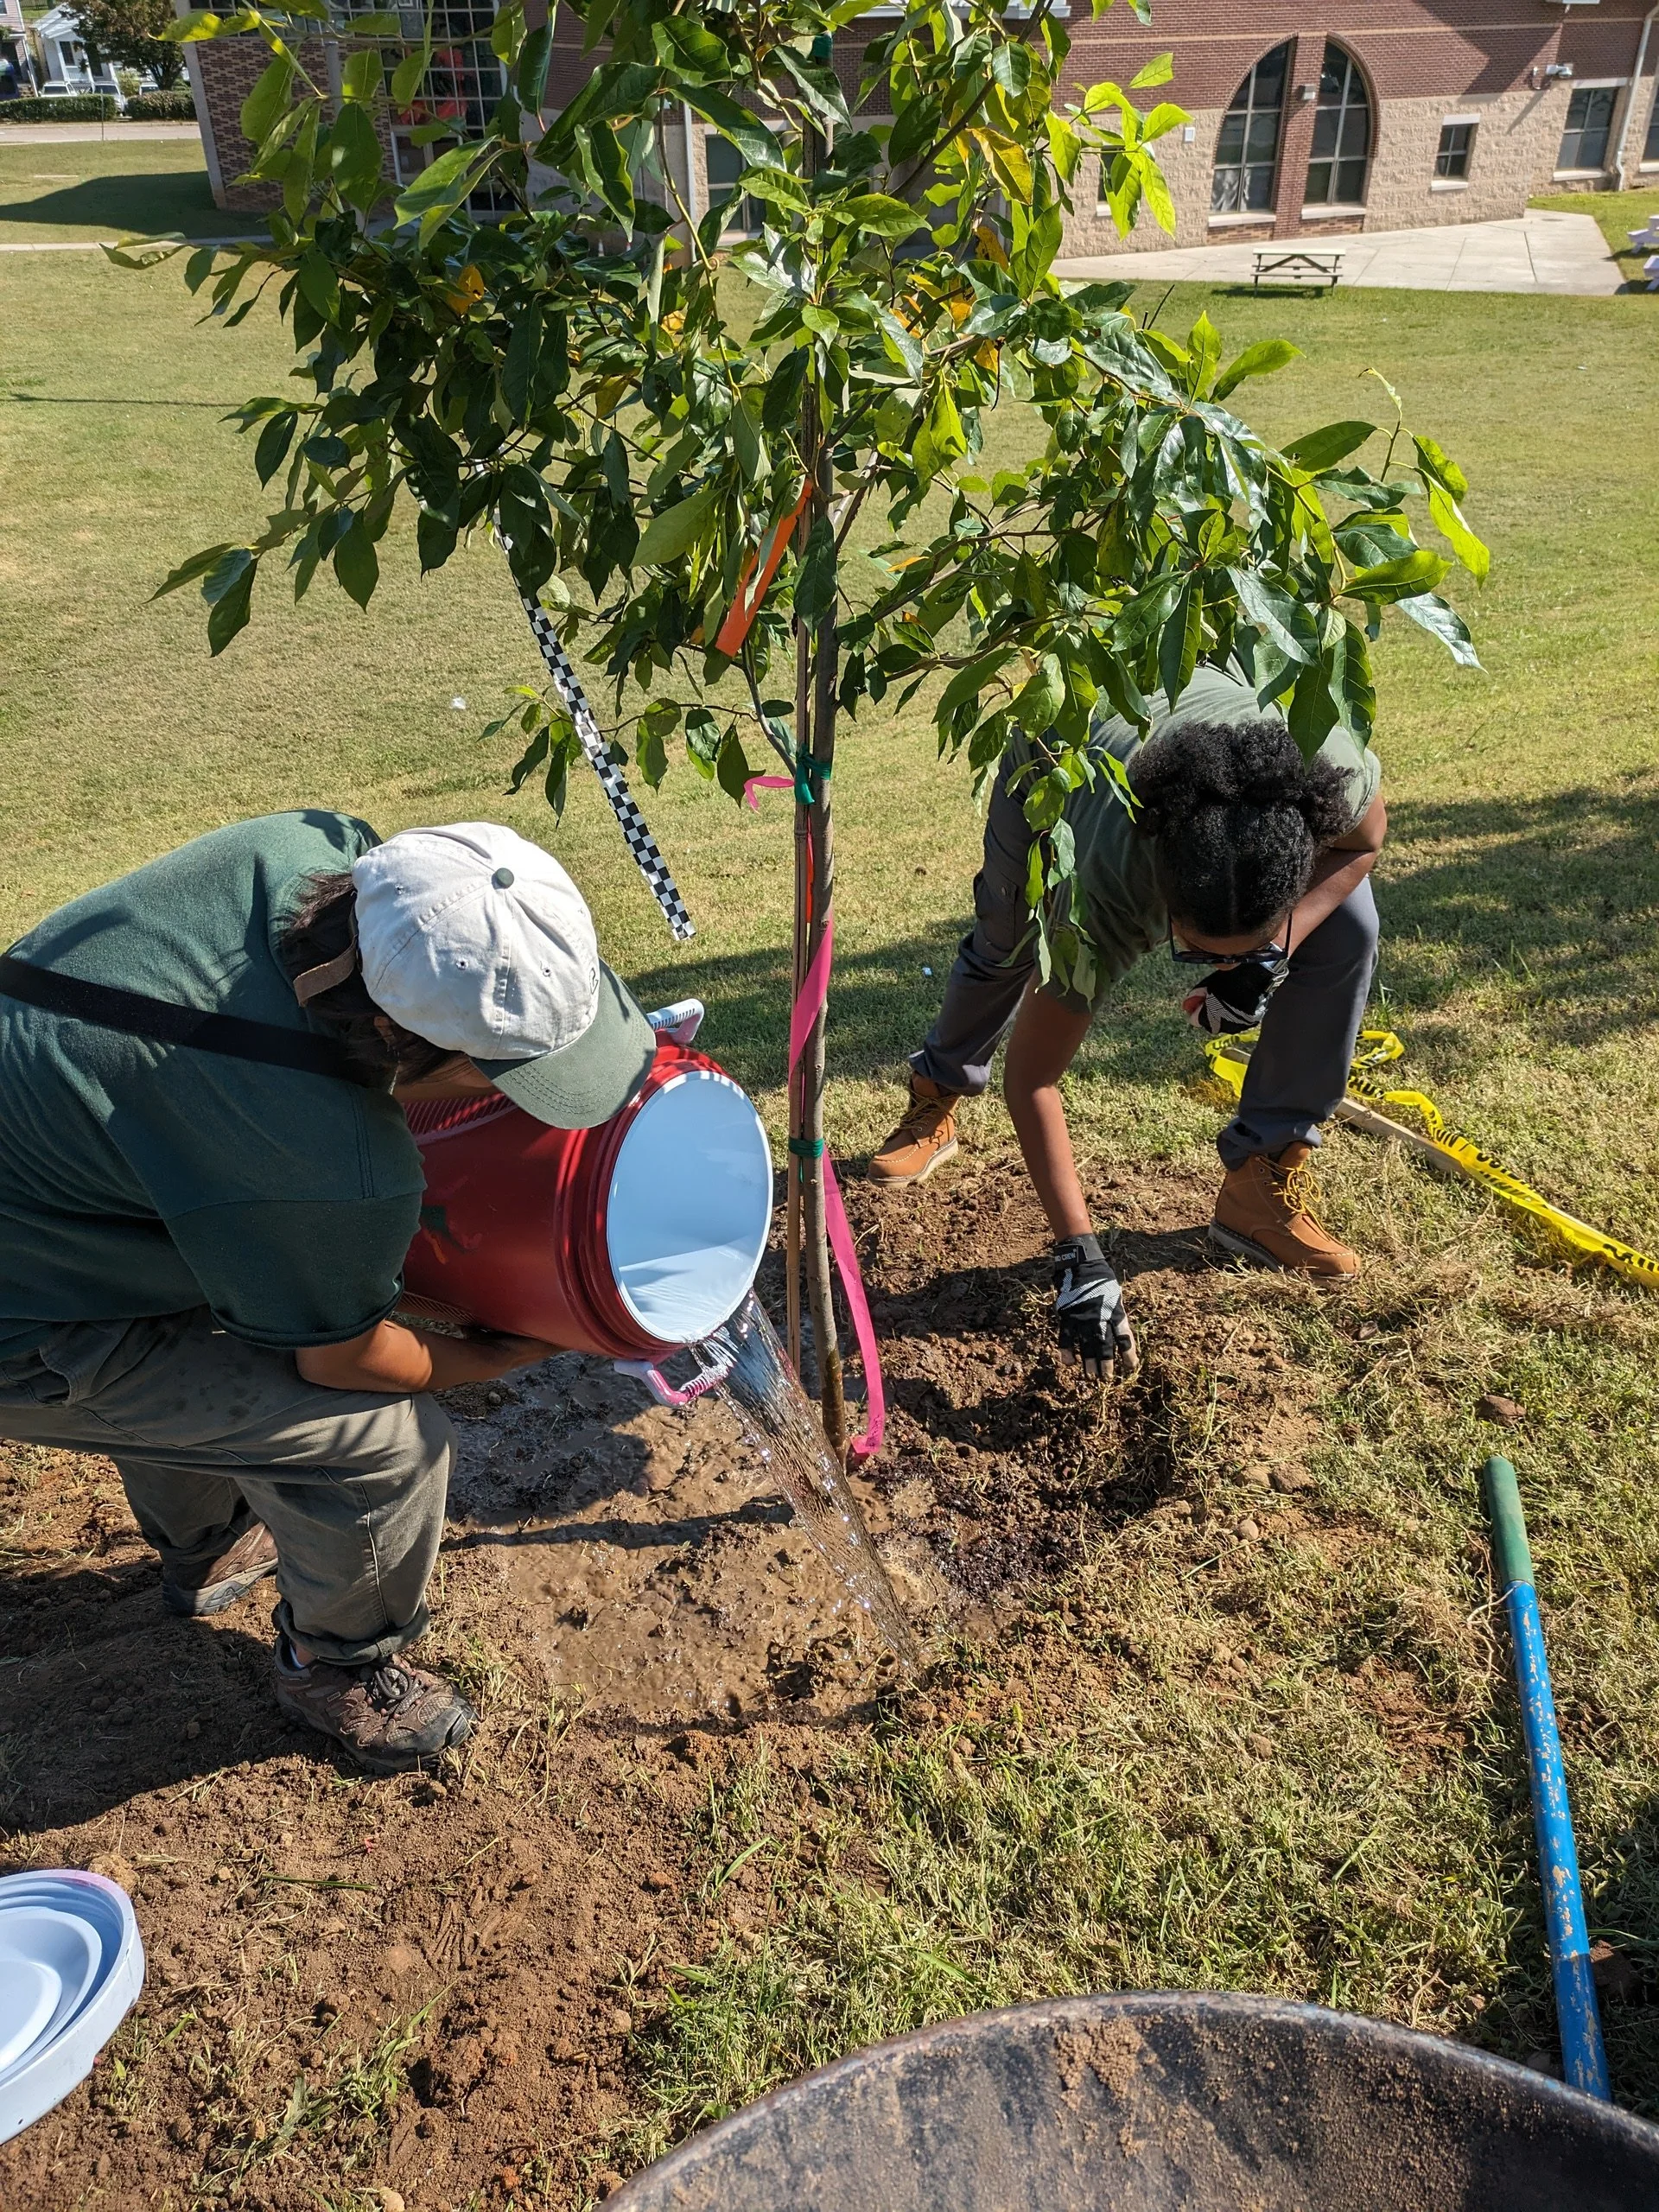
Step Five: Water the Tree
Immediately after planting, thoroughly water the tree with one full-gallon bucket (or two for larger trees), allowing the water to penetrate the surrounding soil.
Mistake to Avoid: Don’t overwater or underwater the newly planted tree, as it can cause stress and root problems. For more information, explore this watering guide.
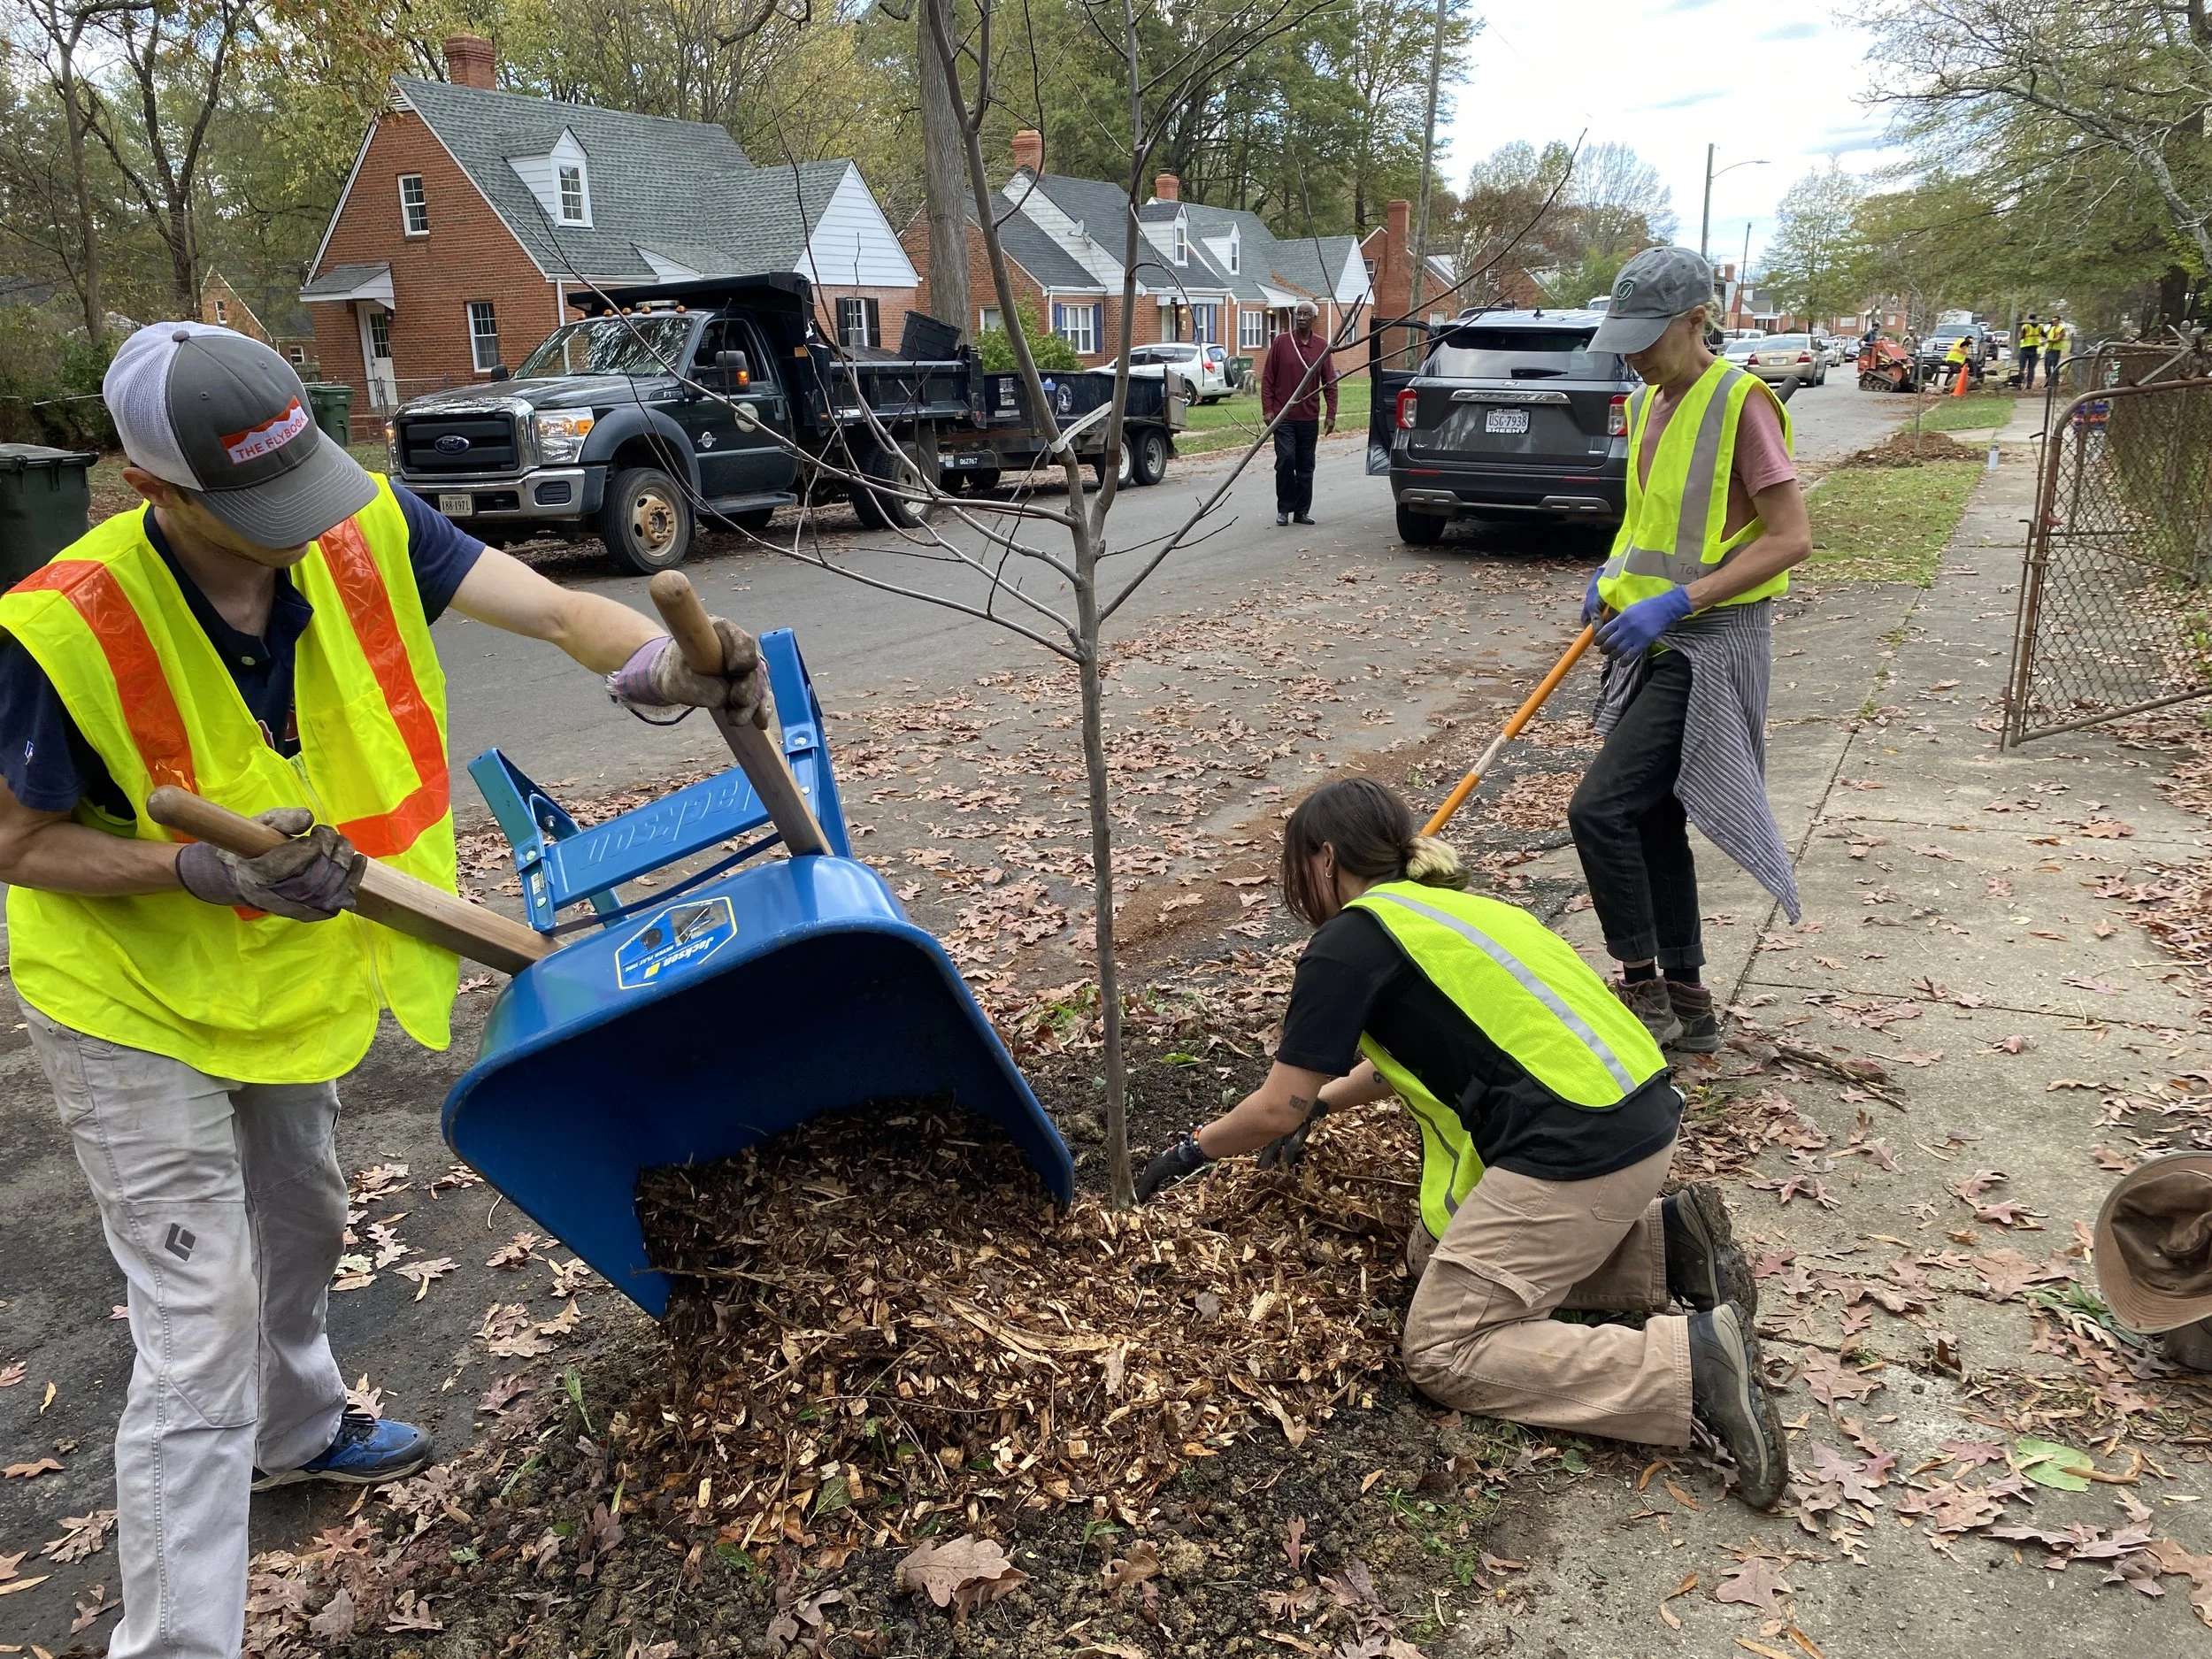
Step Six: Mulch the Tree
Pour an entire bag of mulch around the tree, creating a donut shape (where no mulch touches the tree trunk), not a volcano shape. The mulched area might be larger than your hole.
Mistake to Avoid: “Volcanoe mulching” can trap excessive moisture, causing bark rot, fungi, and insect infestation, essentially suffocating the tree.
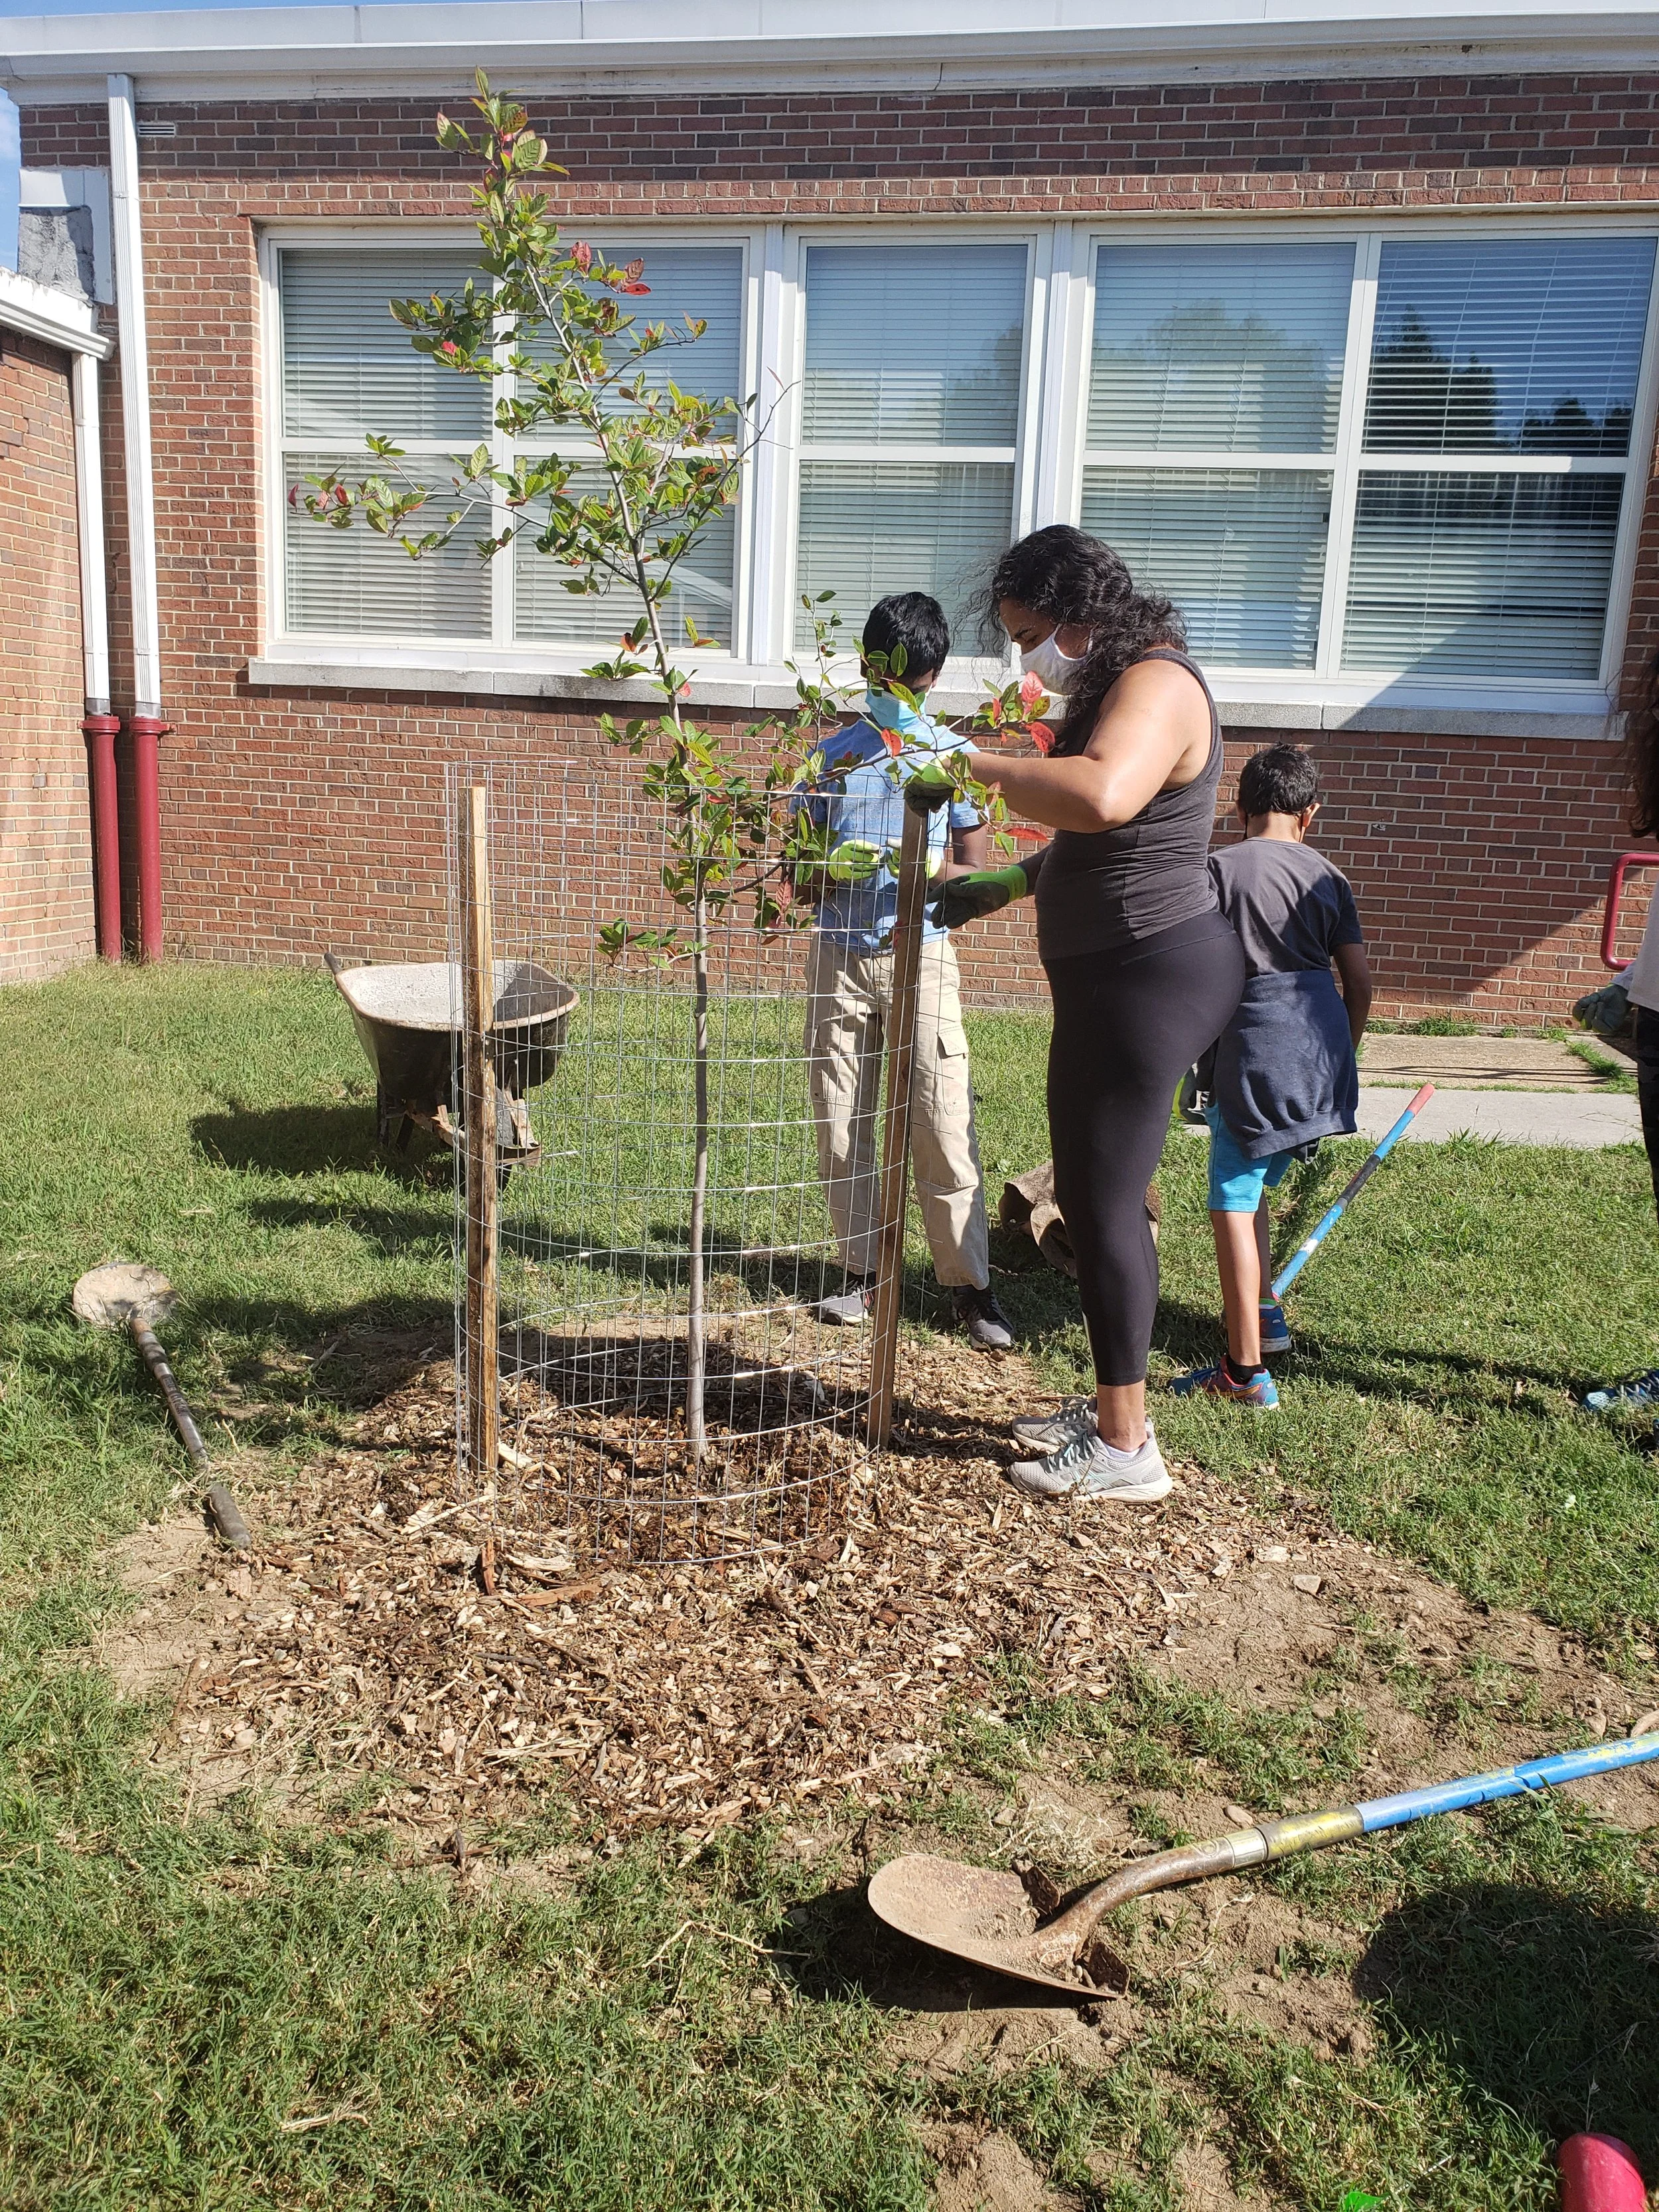
Step Seven: Stake or Cage the Tree (if necessary)
Only stake the tree if it is top-heavy or likely to be exposed to strong winds.
Use flexible materials to secure the tree to stakes, allowing some movement to help the tree develop trunk strength. For more information, view this tree staking guide.
Caging a newly planted tree on residential properties is optional, but you can install a cage to protect it from wildlife, lawn mowers, or other environmental factors. For more information, view this guide on installing tree cages.
Mistake to Avoid: Do not leave the tree staked or caged for longer than necessary, as it can restrict trunk movement and hinder proper development. Generally, a tree only needs to be staked for a year or two, and caged until it reaches 10-12 feet in height.
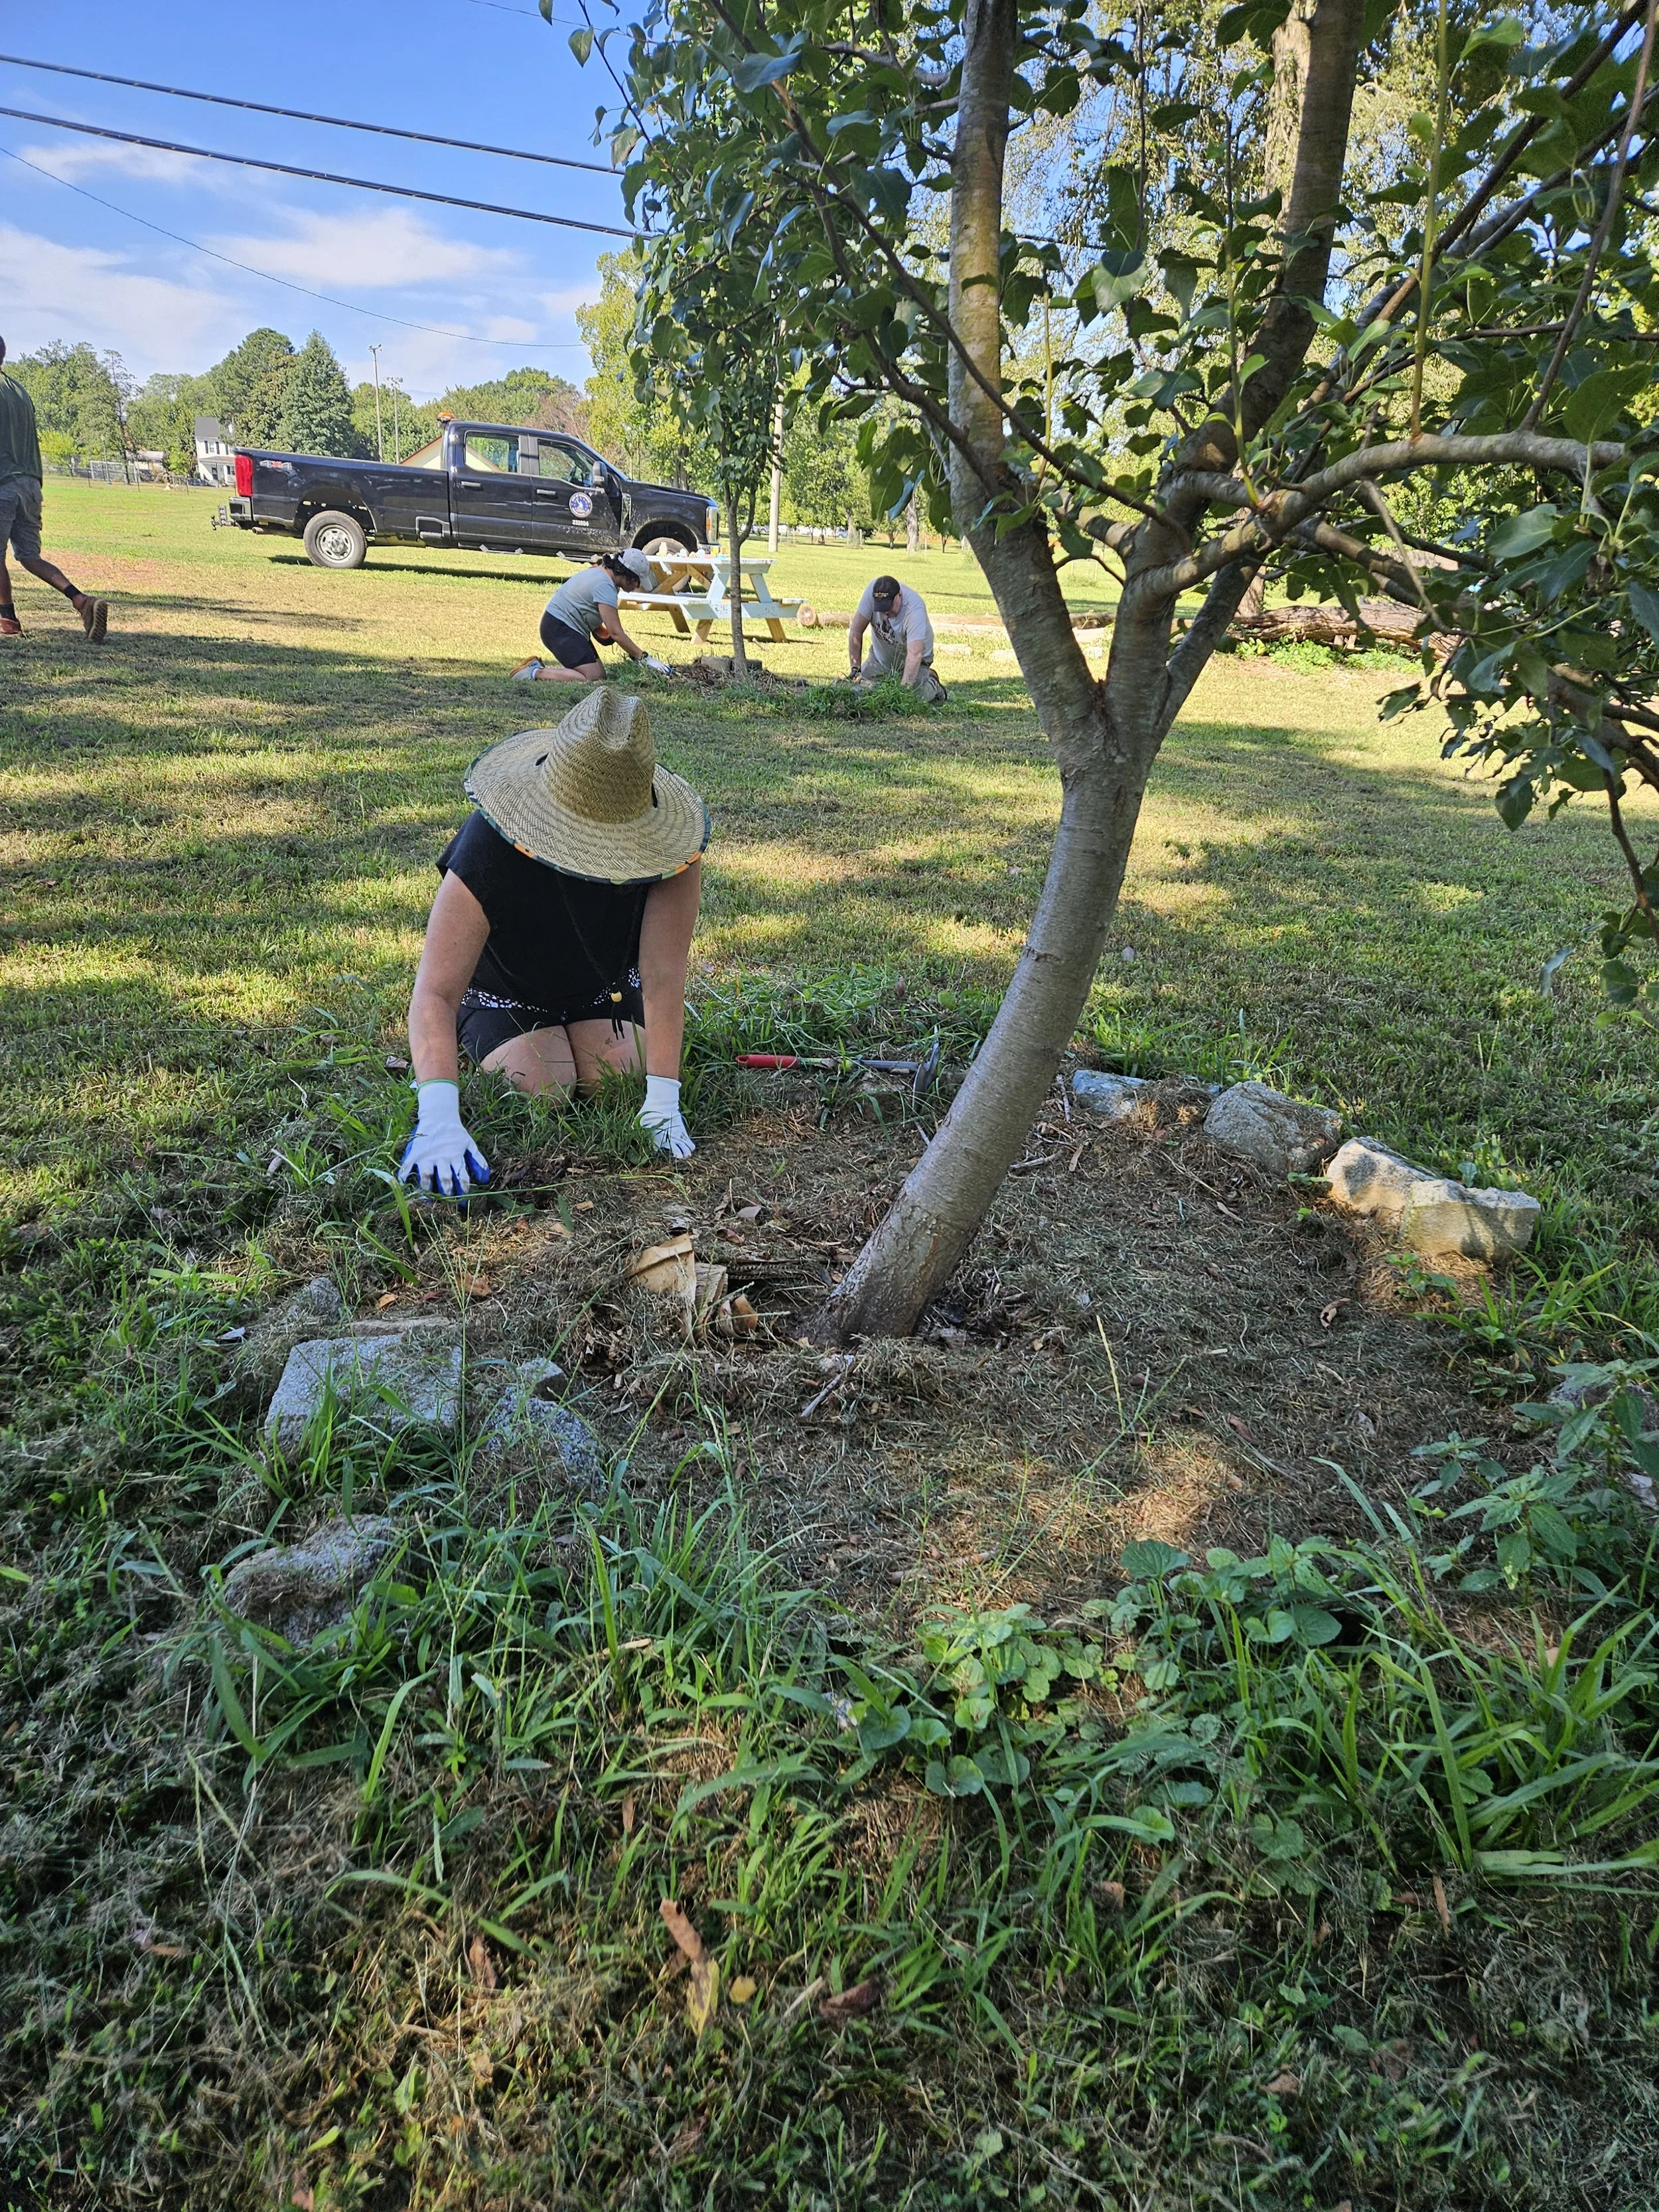
Step Eight: Care for the Tree
Monitor the tree regularly and water it appropriately, especially during dry periods. It’s critical to provide enough water around the rootball.
As your tree grows, remove any weeds that grow inside your mulch bed. Take care not to hit the trunk of your tree with lawn mowers/weed trimmers — the resulting damage could kill your tree!
Follow any specific care instructions provided for the particular tree species. Visit Trees Virginia for more detailed instructions on tree maintenance and care.
Mistake to Avoid: Don’t neglect the tree’s care after planting; trees can be very fragile when they are young. Lack of post-planting care is why most trees in human environments fail.